|
Specific
Suggestions / Job Flow
Most of the following refers to colorizing faded
images, however much can also be used to colorize BW images.
1. Do all color corrections and painting on
duplicate, adjustment, or separate layers. Merge layers only when you are
sure you have what you want.
2. The amount of
work needed varies greatly depending on the amount of fading and the
subject matter of the image.
3. Many masks and
localized corrections may be needed.
4. Since it is difficult to fix everything, fix the most obvious:
4.1 Overall Density & Contrast
4.2 Skin tones
4.3 Areas that should be neutrals
4.4 Large areas (example: background in a portrait)
4.5 Objects where a
viewer will know what the color should be (example: sky should be cyan -
blue)
5. Images on reversal film are almost
always easier to "fix" than images on photographic paper.
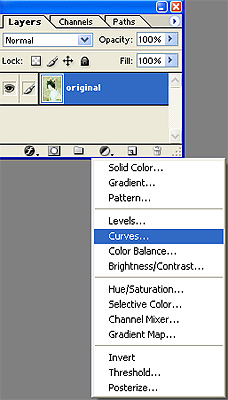
6. Start by correcting the density.
(see Image 4
)
6.1. Use curves, tone, or levels
6.2. It is often
necessary to do 2 density corrections (one for hi's & mids and one for
shadows or one for shadows & mids and one for hi's) and strip them
together (see localized cc and masking techniques).
6.3. Avoid
blown-out, bald, and plugged looking corrections. If this is not possible,
isolate these areas and apply grain (see texture / grain techniques) to
match the normal areas of the original.
7. If
there are people in the image, the second correction should be for the
skin. (see Image 5
)
7.1. This will be a localized masked correction.
7.2. You may want to include the persons' hair in the
mask since the skintone correction will work or be close to that which is
needed for the hair.
7.3. Correct for the midtones of the skin and
temporarily ignore the skin's shadows and highlights if they "go bad".
7.4. Use normal skintone images from other jobs as "go-bys".
7.5.
Fix skintone shadows and highlights with separate "Brushed-in" cc's or
"Brushed-in" desaturation as needed.
8. Fix the areas that should be neutral
by using a desaturation correction masked or brushed-in or by
using the sponge tool. It is usually not recommended to ever desaturate
100% (see Image 6 & 7)
9. Coloring will be needed if the image is
greatly faded or if it was originally a BW:
9.1 Make a new layer with
layer mode set to color.
9.2 Use a traditional painting approach to
color the image (I start with the main subtle hue and then layer with
tints and shades to create shadows and highlights and then work-in the
details.)
9.3 It is usually best to keep the "coloring" more neutral
than saturated. You can always add saturation or contrast later on.
9.4 Use noise or Eye Candy HSB noise to add some variation.
9.5
Remember that shadows (shades) and highlights (tints) are almost always
more neutral than the mids of any hue.
10. Sometimes drastic density and contrast changes result in a posterizing or grainy effect. This must be removed or "toned-down". Use gaussian blur (approx. 8 - 12), blending, air brush, texture / grain techniques in combination as needed.
|
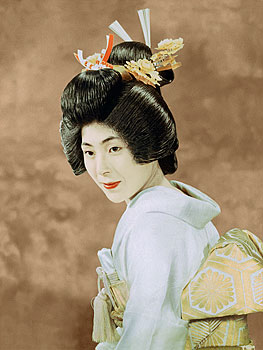
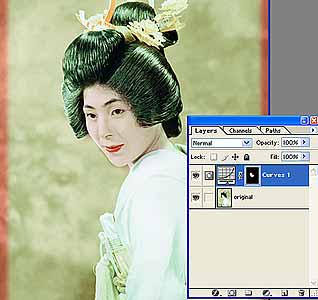
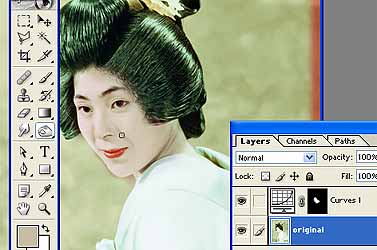
image
4
The above image shows two different Curves
Adjustment Layers and masking used to correct the overall
density.
The lower Curve Adjustment Layer corrects the entire
image except the woman's hair.
The top Curve Adjustment Layer corrects
the lightest areas of the image
(the white clothing, her face, and her hair
decorations.)
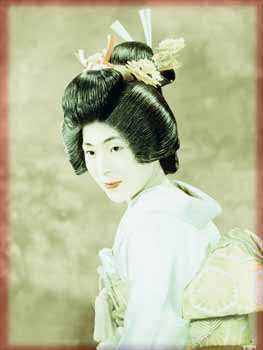
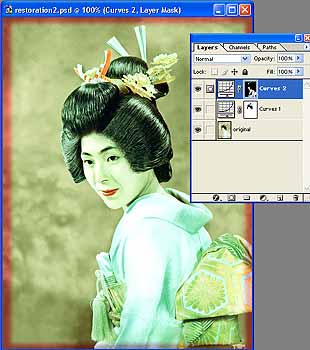
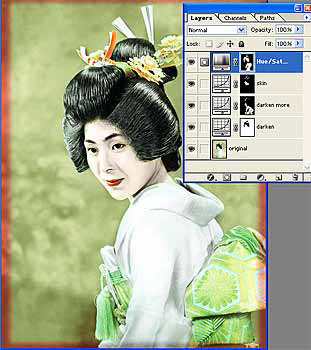
image 5
After the overall density is corrected,
a third Curves Adjustment Layer with a mask is used to correct the
"skin color."
|
|
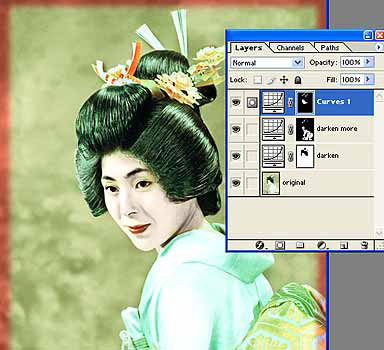
image 6
Again, an Adjustment Layer is
used. To make the hair, white clothing, and part of the hair decorations
neutral, the Hue/Saturation Adjustment Layer will
be used.
|
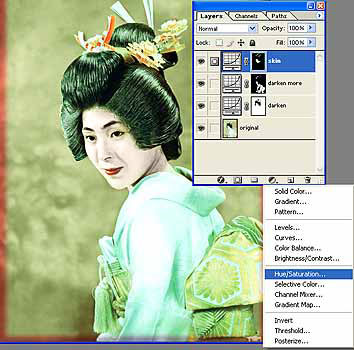
image 7
The above image is the result
of the Hue/Saturation Adjustment
Layer. |